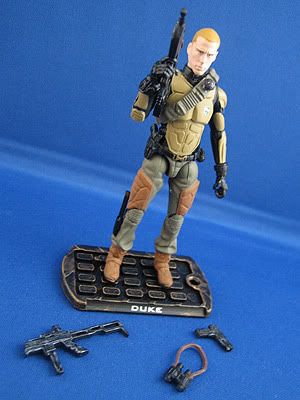
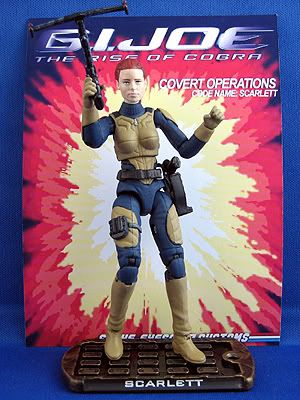
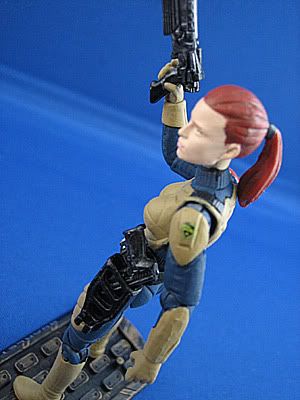
Many people write to me asking how I get such clean detailed logos, letters, and symbols on my custom figures. The answer is custom made waterslide decals. "What's a waterslide decal?" you ask. Well, if you've ever built a model car, it's that kind of decal where you soak it in water and then apply it so that it dries in place. The advantage of a waterslide decal over a sticker is that it can conform to irregular shapes like wrinkles in clothing and seams. And if you match the background colors well and seal it afterward, it blends in seamlessly.
How do you make them? That's a whole other story. Today, we'll assume you contacted me and ordered a custom made set or a set I've done previously and now you want to apply them to your own custom action figure.
First let's make sure you have everything you need:
1) One or more action figures. I like to do more than one at the same time because there is a little bit of setting up involved and they can be tricky to work with so by decal number three, you've got the feel for working with them again.
2) Bottle of Micro Sol decal solvent. You can get it at a hobby store or order from the link.This stuff will help the decal adhere to irregular surfaces like folds in clothes. It actually "melts" the plastic of the decal so you have to be very careful with it.
3) Tweezers
4) New Clean Paper Towel
5) Distilled Water
6) Shallow Lid or Yogurt Cup (turned upside down) filled with distilled water.
7) Clean Exacto Blade and Cutting Mat (Not pictured.)
8) Clean Small brush
9) Dixie Cup Filled with Distilled Water (Not pictured.)
Step 1:
Cut out your decals close to the edge of the design but with enough room so you can still hold them with the tweesers without touching the printing on the decal. Sometimes as with Cover Girl's arm patch, you have to cut right to the edge and be even more careful when handling it.
Step 2:
Hold the decal up to the area you will be applying it to. Make sure it will fit. Trim it as necessary.
Step 3:
Pick up the decal with the tweezers being careful not to touch the printing.
Step 4:
Using the tweezers, hold the decal face up on the surface of the water for 3 seconds. This will allow the backing paper to get moist. If it is too small as with Cover Girl's patch, let it sit on the surface. (DO NOT SUBMERGE THE DECAL as it can cause the colors to bleed!)
Step 5:
Place the decal face up on a paper towel and let it sit for 30 seconds. This allows the backing paper to loosen from the decal. Larger decals will need more time.
Step 6:
While the decal is loosening from the backing paper, take your brush and put a very light coat of decal solvent on the area of the figure where you will be placing the decal. This should almost evaporate by the time you place the decal in position. Clean the brush with running water from a sink and dry it on a paper towel as you will be using the brush again in a moment and you do not want any solvent to remain on it.
Step 7:
After the 30 seconds, pick up the decal with the tweezers and place it face down on a flat clean surface. A table is good, preferably close to the edge of the table in case you have trouble picking up the decal.
Step 8:
Using the tweezers, gently nudge the backing paper of the decal to make sure it will slide. Then using the tweezers, pick up the backing paper with the decal still halfway attached.
Step 9:
Still holding it with the tweezers, place the decal on the figure using the brush (or the exacto, but be very careful not to tear the decal) to help slide it free from backing paper. You only have a few seconds before the decal begins to set so quickly place it into position.
Step 10:
If it is not staying in place or the decal doesn't seem to adhere, put a tiny drop of water on your brush and use it to gently smooth out the decal surface. Be careful not to use too much water as it will crack and smudge the colors on the decal. I recommend trying to dab the corners or edge of a decal first.
Step 11:
If the decal does not seem to be adhering to the contours of the area you are placing it onto like a wrinkled jacket sleeve, dip only the tip of the brush in decal solvent, and gently brush a little solvent onto the areas of the decal that will not adhere. If it will not adhere in the middle of the decal, you will have to use the brush to gently push the decal into the recesses of the wrinkle. (NOTE: Be EXTREMELY careful when using decal solvent as you only have one shot at getting it right. After you use it on a part of the decal it cannot be moved without destroying or cracking the decal.)
Step 12:
Let it dry over night.
Step 13:
Spray the entire piece with some kind of sealant. Many different companies make different kinds of sealant from matte, to gloss, to others in between. Whatever you use, I suggest using a spray and applying it very lightly. I use Games Workshop Matte Purity Seal. It's more expensive than most, but the quality is the best I've found and the large can lasts a long time.
Step 14:
Let the whole thing dry over night.
When you're done, you have something that even the finest miniature painter cannot reproduce. If you'd like to buy any of my decals or would like to commission a new design, contact me at Eric@insidious1.com.


