Vincent: It's the little differences. I mean, they got the same $#!t over there that we got here, but it's just – it's just there, it's a little different.
*****
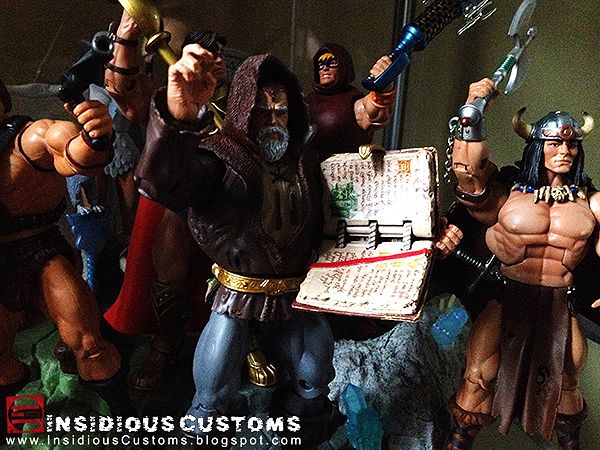
It's been a long time, gang! I've been consumed with working on Warpo's Legends of Cthulhu line of vintage-style action figures for the last year so I haven't had much time for custom work. (Be sure to enter our Cthulhu Halloween Mask Contest if you haven't already!) However, I've been waiting for October's Masters of the Universe Classics figure for several years so when he arrived with less than perfect deco and features, I was inspired to once again make some subtle tweaks to him. The figure is, of course, Eldor; Heroic guardian of the Book of Living Spells.
If you've been following my blog, you probably saw my original custom Eldor I did way back in 2011.
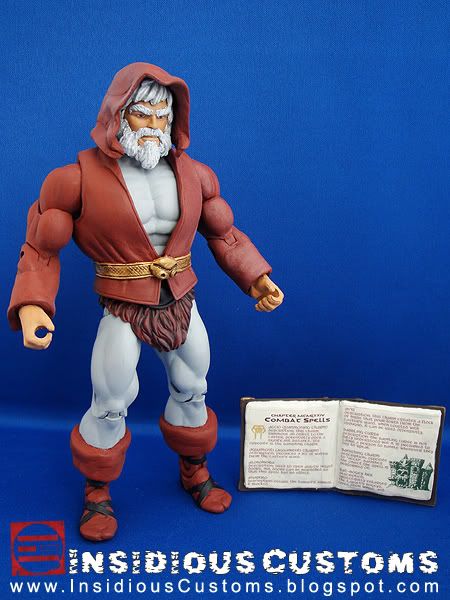
Considering the parts and photo reference I had available at the time, he still looks pretty good and fairly faithful to the original sculpt by Eddie Mosqueda. Since then, I've had the pleasure of working with Eddie and he allowed me to take some high-res photos of his prototype to see even more the details including the "snake-mouth-like" belt buckle. I started a new custom but shortly thereafter, Mattel announced their official version. And while I think the official is a great looking figure, I would have preferred one that was more faithful to the details that Eddie put into the original sculpt. I'll get back to mine sometime, but in the meantime, I made some subtle and not-so-subtle changes to the official figure that improve him greatly.
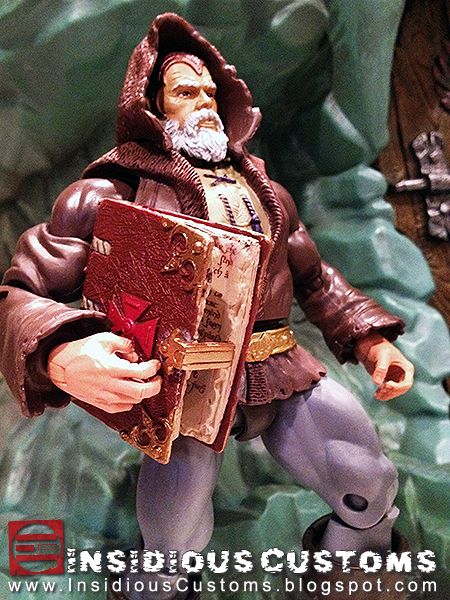
First, I replaced his hands with Bow's hands. Bow's wrist articulation and hand shapes make it much easier for Eldor to hold the Book of Living Spells in both the closed and open positions. The Bow wrist pegs are a little too small for the holes in the forearms so you'll need to use some sticky-tack or green-stuff to thicken them a bit. If you don't mind loose wrists, you can just swap them.
I also painted his trunks a dark brown to match his boots. I intended to paint them the same dark reddish brown of his shirt like the vintage prototype but then I thought the darker brown might help pull the figure together. (No old man should be walking around Preternia in a pair of gray tights with his junk hanging out!)
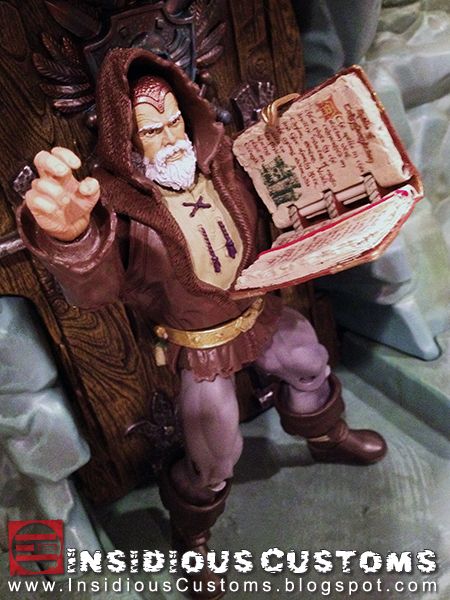
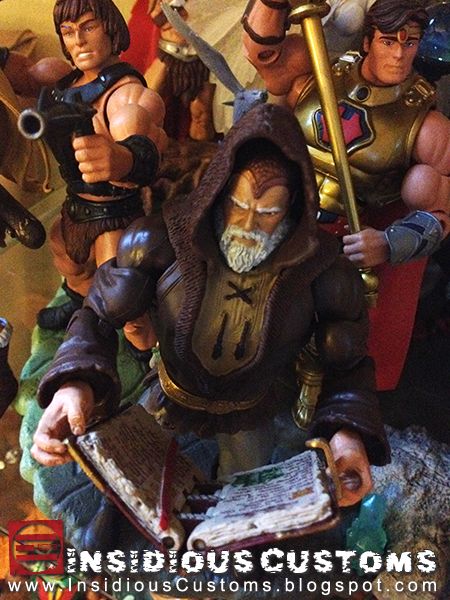
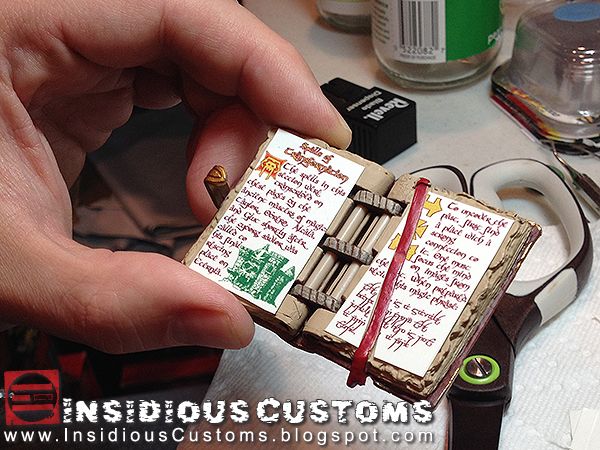
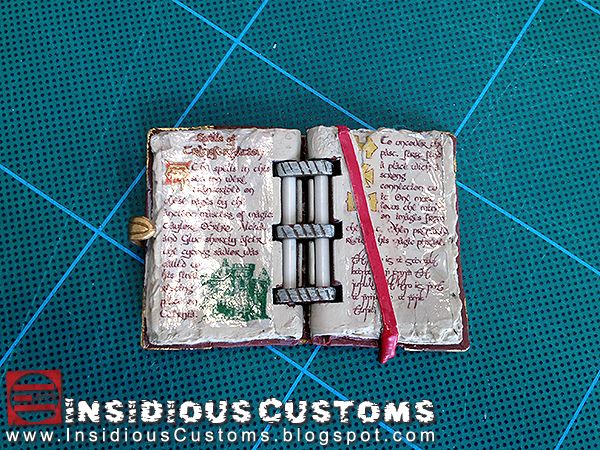
As you can see in the photo above, the Bow hands also work great for creating spell casting gestures. You may have noticed that my Book of Living Spells also has been modified. I created some custom water-slide decals so that his book is not blank. (These are the kind of decals that come in model kits.)
I hope you dig him and and see once again that the little differences can make your good figures great! If you'd like to purchase a set of decals for your own Book of Living Spells, send me an email Eric@Insidious1.com.
***
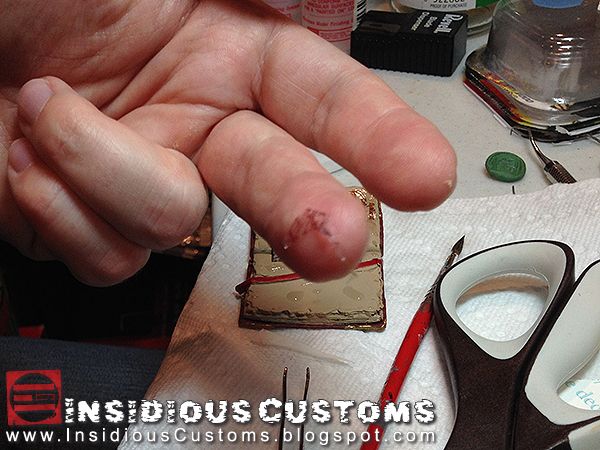
Because of the overwhelming response to the Book of Living Spells decals, I've posted a tutorial below on how to apply them. Here's what you'll need to get started...
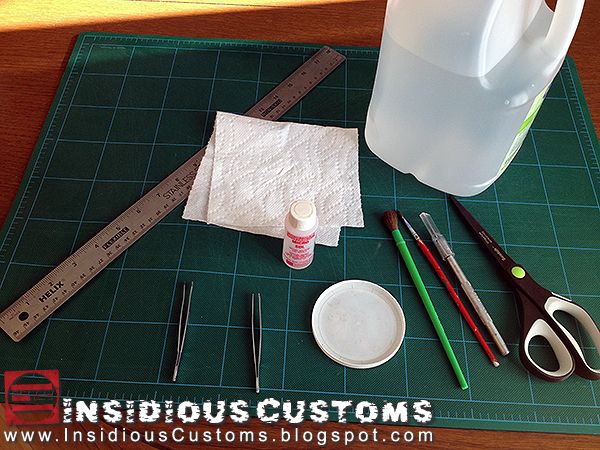
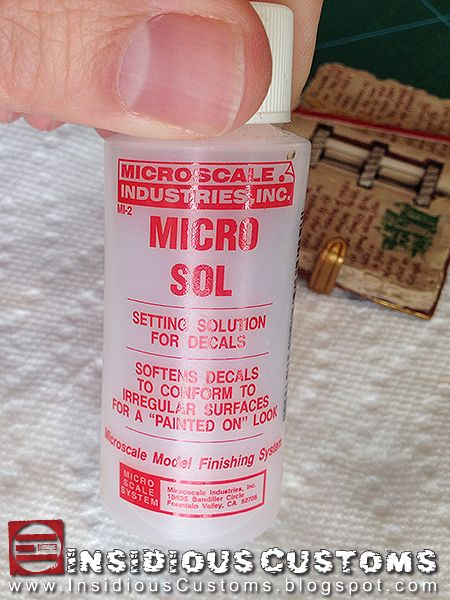
1) Bottle of Micro Sol decal solvent. You can get it at a hobby store or order from the link.This stuff will help the decal adhere to irregular surfaces like the wrinkles on the pages. It actually "melts" the plastic of the decal so you have to be very careful with it.
2) Tweezers (I always use two.)
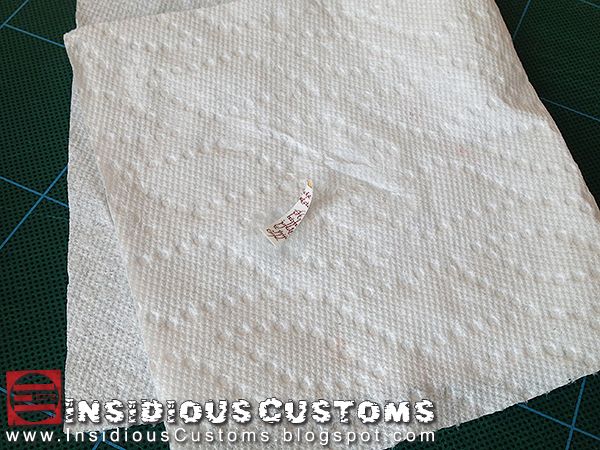
3) New Clean Paper Towel
4) Distilled Water
5) Shallow Lid - filled with distilled water.
6) Clean Exacto Blade, Ruler, and Cutting Mat (Or new sharp scissors)
7) Two Clean Small Brushes
Step 1:
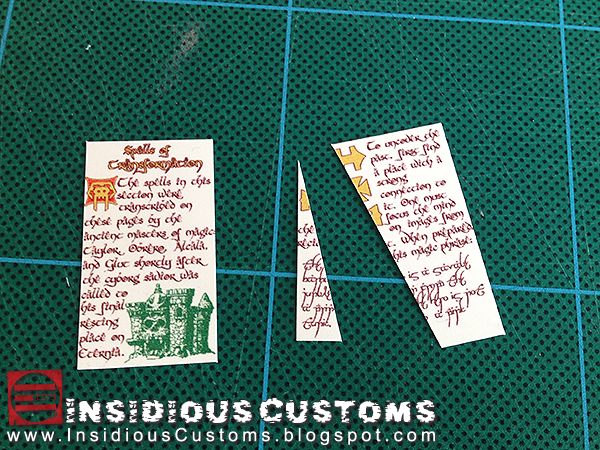
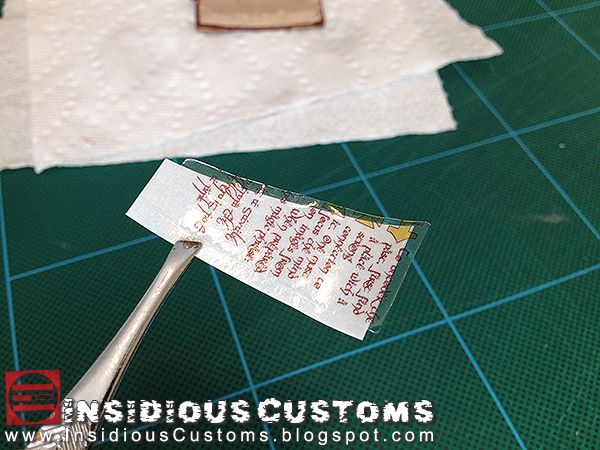
Cut out your decals close to the edge of the design but with enough room so you can still hold them with the tweezers without touching the printing on the decal. I printed some very thin gray guides where you need to cut. If you are using scissors, make sure they are very sharp and new. (Don't use the old dull pair that's been sitting in the junk drawer for the last five years!)
2) Tweezers (I always use two.)
3) New Clean Paper Towel
4) Distilled Water
5) Shallow Lid - filled with distilled water.
6) Clean Exacto Blade, Ruler, and Cutting Mat (Or new sharp scissors)
7) Two Clean Small Brushes
Step 1:
Cut out your decals close to the edge of the design but with enough room so you can still hold them with the tweezers without touching the printing on the decal. I printed some very thin gray guides where you need to cut. If you are using scissors, make sure they are very sharp and new. (Don't use the old dull pair that's been sitting in the junk drawer for the last five years!)
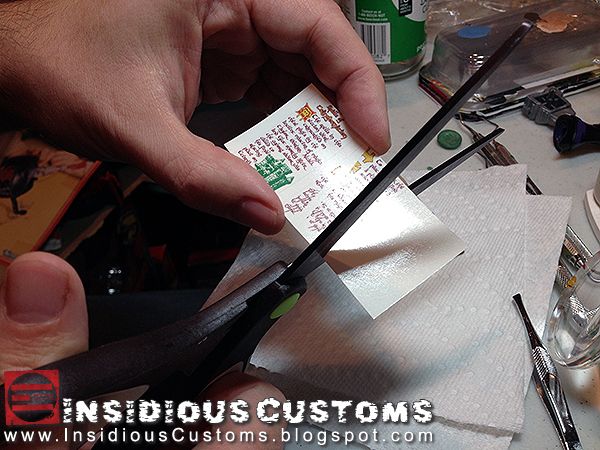
I prefer to use a new Exacto blade, ruler, and cutting mat for precision.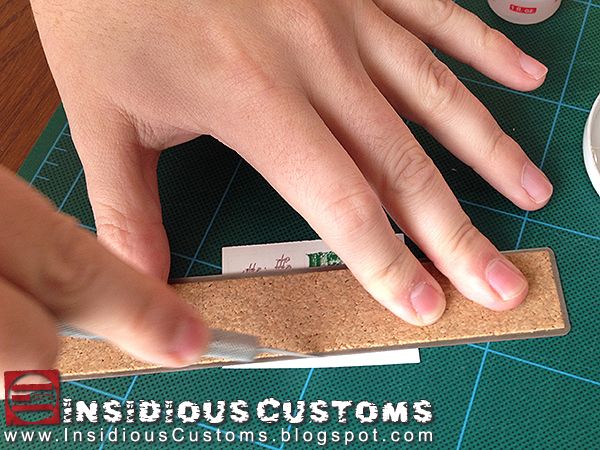
Step 2:
Test fit the decals on the book to make sure they will fit properly. Trim as necessary.
Test fit the decals on the book to make sure they will fit properly. Trim as necessary.
Take particular notice of the page on the right side as you'll want the text and symbols to line up on either side of the bookmark.

Step 3:
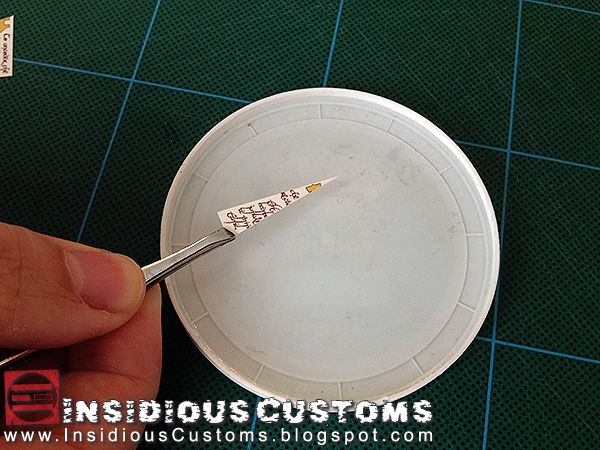
Pick up the decal with the tweezers being careful not to touch the printing. Using the tweezers, hold the decal face up on the surface of the water for 5 seconds. (DO NOT SUBMERGE THE DECAL as it can cause the colors to bleed!)
Step 4:
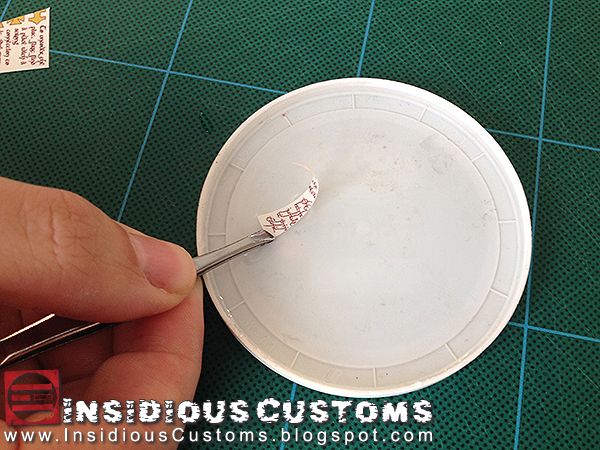
Place the decal face up on a paper towel and let it sit for 30 seconds. This allows the backing paper to loosen from the decal. (The larger page decals will need a little more time.)
Place the decal face up on a paper towel and let it sit for 30 seconds. This allows the backing paper to loosen from the decal. (The larger page decals will need a little more time.)
Step 5:
Using the tweezers, place the decal on a flat, CLEAN, surface then gently nudge the edge of the paper from the decal. For the decals on the right side of the book, nudge the paper away from the center, or bookmark edge. (See photo below for reference.)
Using the tweezers, place the decal on a flat, CLEAN, surface then gently nudge the edge of the paper from the decal. For the decals on the right side of the book, nudge the paper away from the center, or bookmark edge. (See photo below for reference.)
Step 6:
Using both tweezers (or a tweezers and the Exacto) fit the decal into place. (In the case of the right side of the book, place the inside edge up to the bookmark and hold it in place.) Then, using the tweezers, slide the paper out from underneath the decal.
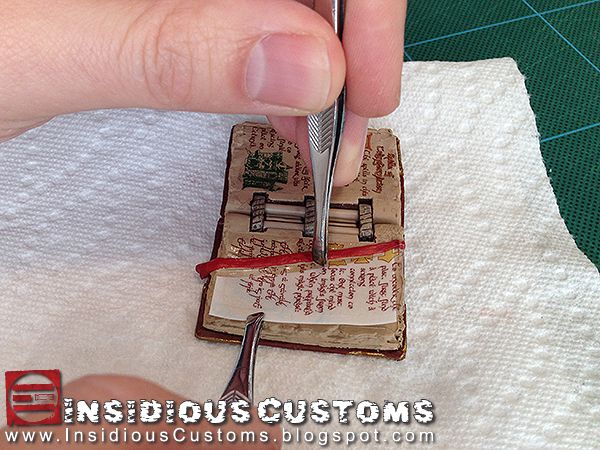
Step 7:
Use a dry brush to adjust position and flatten any airy bubbles. If the decal is not adhering, put a tiny dab of water on the brush and tack down any areas without printing on them. DO NOT put water on any printed areas.
Step 8:
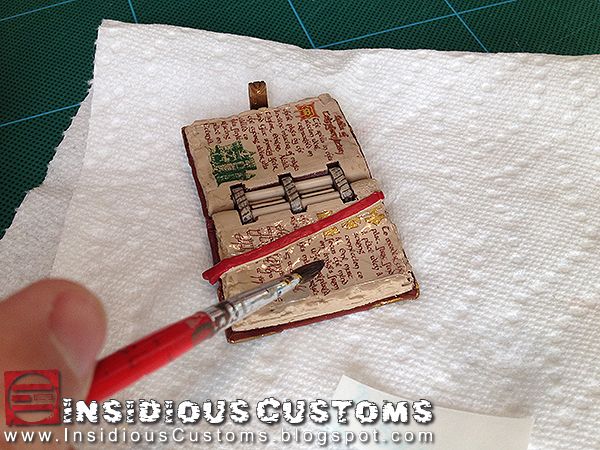
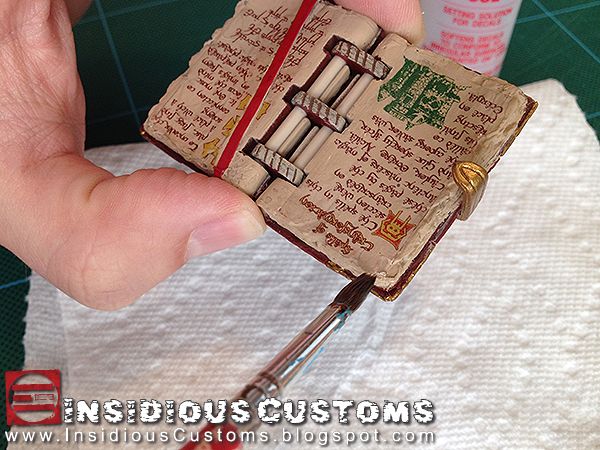
To help the decal adhere to the contours of the pages, dip only the tip of the brush into the decal solvent, and gently brush a little solvent onto the recesses. DO NOT brush it onto the printing or it may remove or smudge it. Decal solvent is not always necessary.
(NOTE: Be EXTREMELY careful when using decal solvent as you only have one shot at getting it right. After you use it on a part of the decal it cannot be moved without destroying or cracking the decal.)
Step 9:
Let it dry over night.
Let it dry over night.
Step 10:
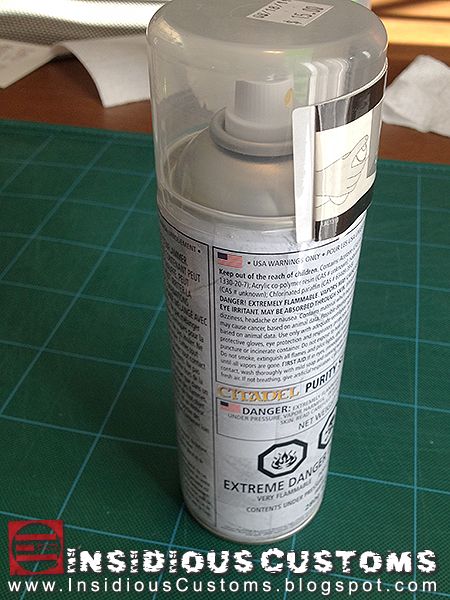
In the morning, you'll notice it looks very glossy. Spray the pages with a clear-coat sealant. Many different companies make different kinds of sealant from matte, to gloss, to others in-between. I prefer a matte sealant so that he pages more closely match the paint of the book.
In the morning, you'll notice it looks very glossy. Spray the pages with a clear-coat sealant. Many different companies make different kinds of sealant from matte, to gloss, to others in-between. I prefer a matte sealant so that he pages more closely match the paint of the book.
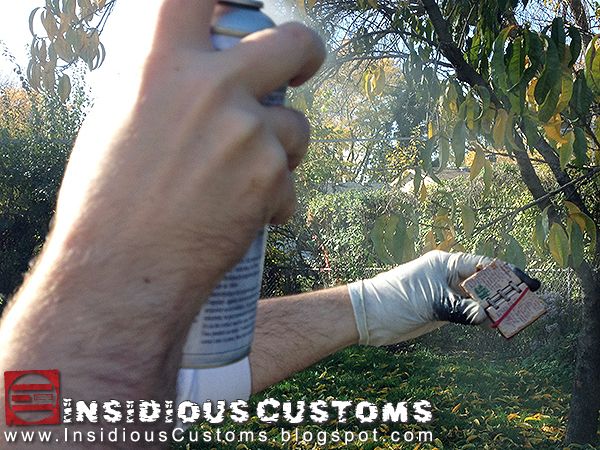
Whatever you choose, use a spray and apply it very lightly. I use Games Workshop Matte Purity Seal. It's more expensive than most, but the quality is the best I've found and the large can lasts a long time. Let it dry overnight. If it still looks glossy the next day, spray it again and let it dry again overnight.
Step 11:
Place book in Eldor's hands, place Eldor prominently in your Preternia display, and enjoy! (Note: Once you've applied the decals, I do not recommend fully closing the book. While it should be fine the first few times, it will eventually start to wear. Or, if you live in a very humid or warm area, it could stick together.)
ONE MORE THING...Take your time, measure twice, cut once, and all that. These are very fragile but the finished look is worth the effort. Also, don't get discouraged if you mess one up. I always include a backup with each set because even I mess up from time to time. (See photo below.)